To record your screen on a Mac, press ⇧⌘5, click Record Entire Screen or Record Selected Portion, then click Record. To stop, click the stop button in the menu bar or press ⌃⌘Esc, and the movie is saved to your desktop. Snapix records an area, a window, a whole display or just your camera, and the moment you stop, an MP4 is ready to drag, copy or edit, with your Mac’s sound if you turn it on.
How to record your screen with Snapix
There’s nothing to set up first. Recording is part of the free trial and every Snapix plan. If you don’t have Snapix yet, try Snapix free.
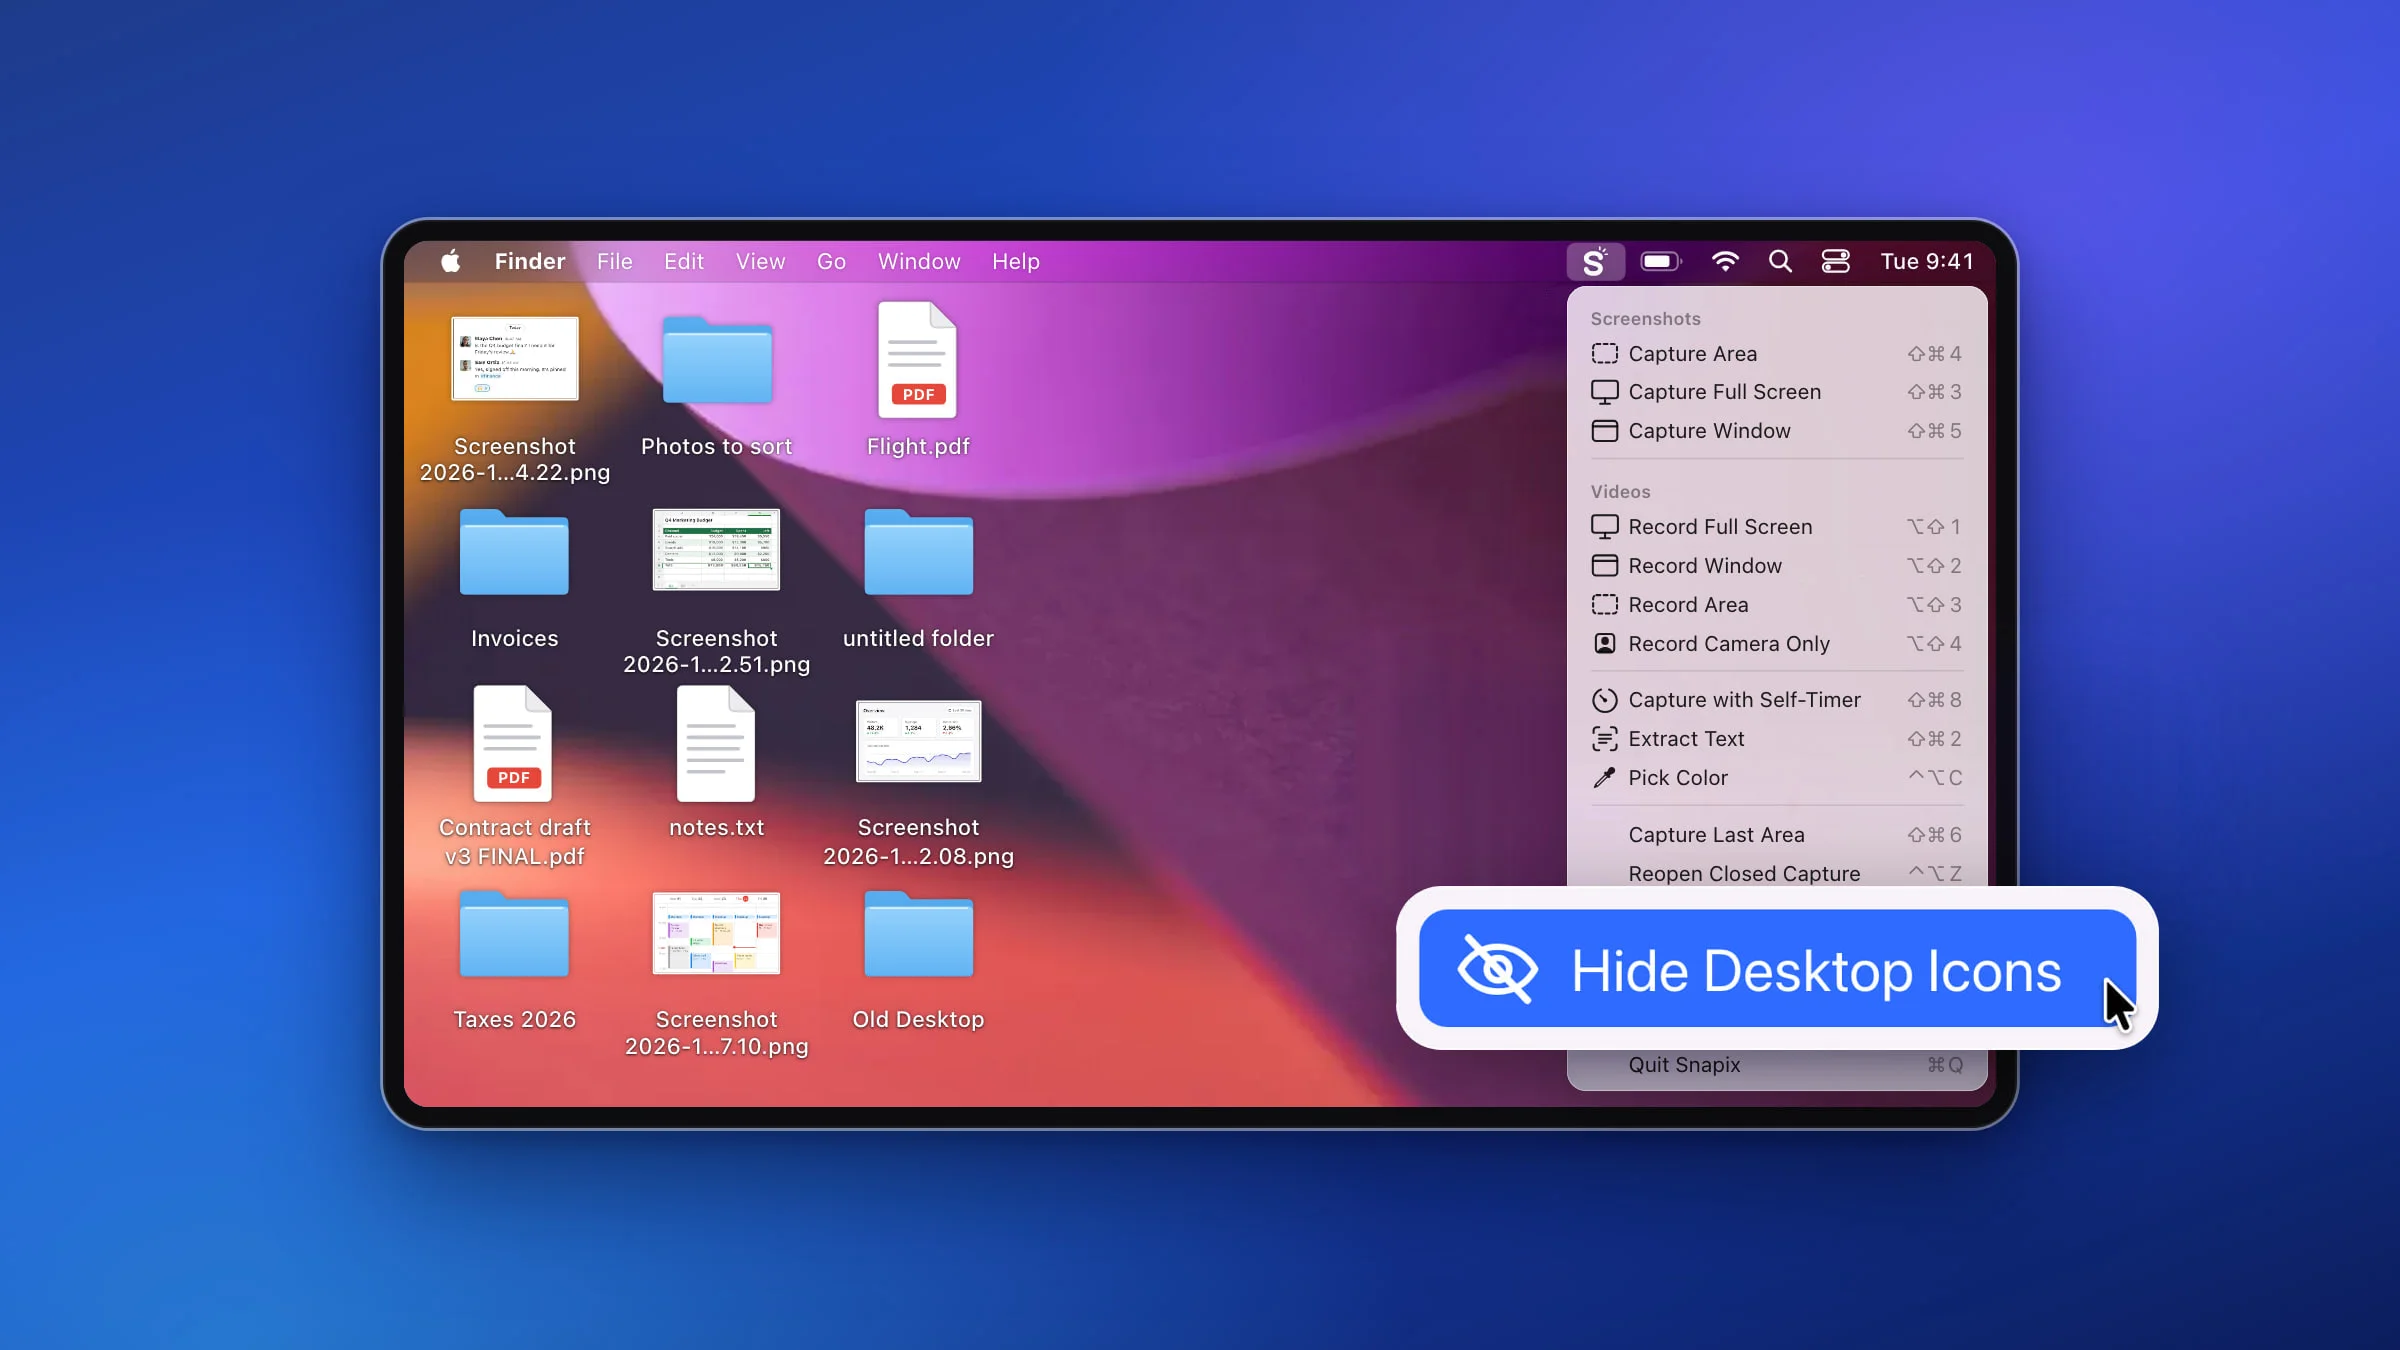
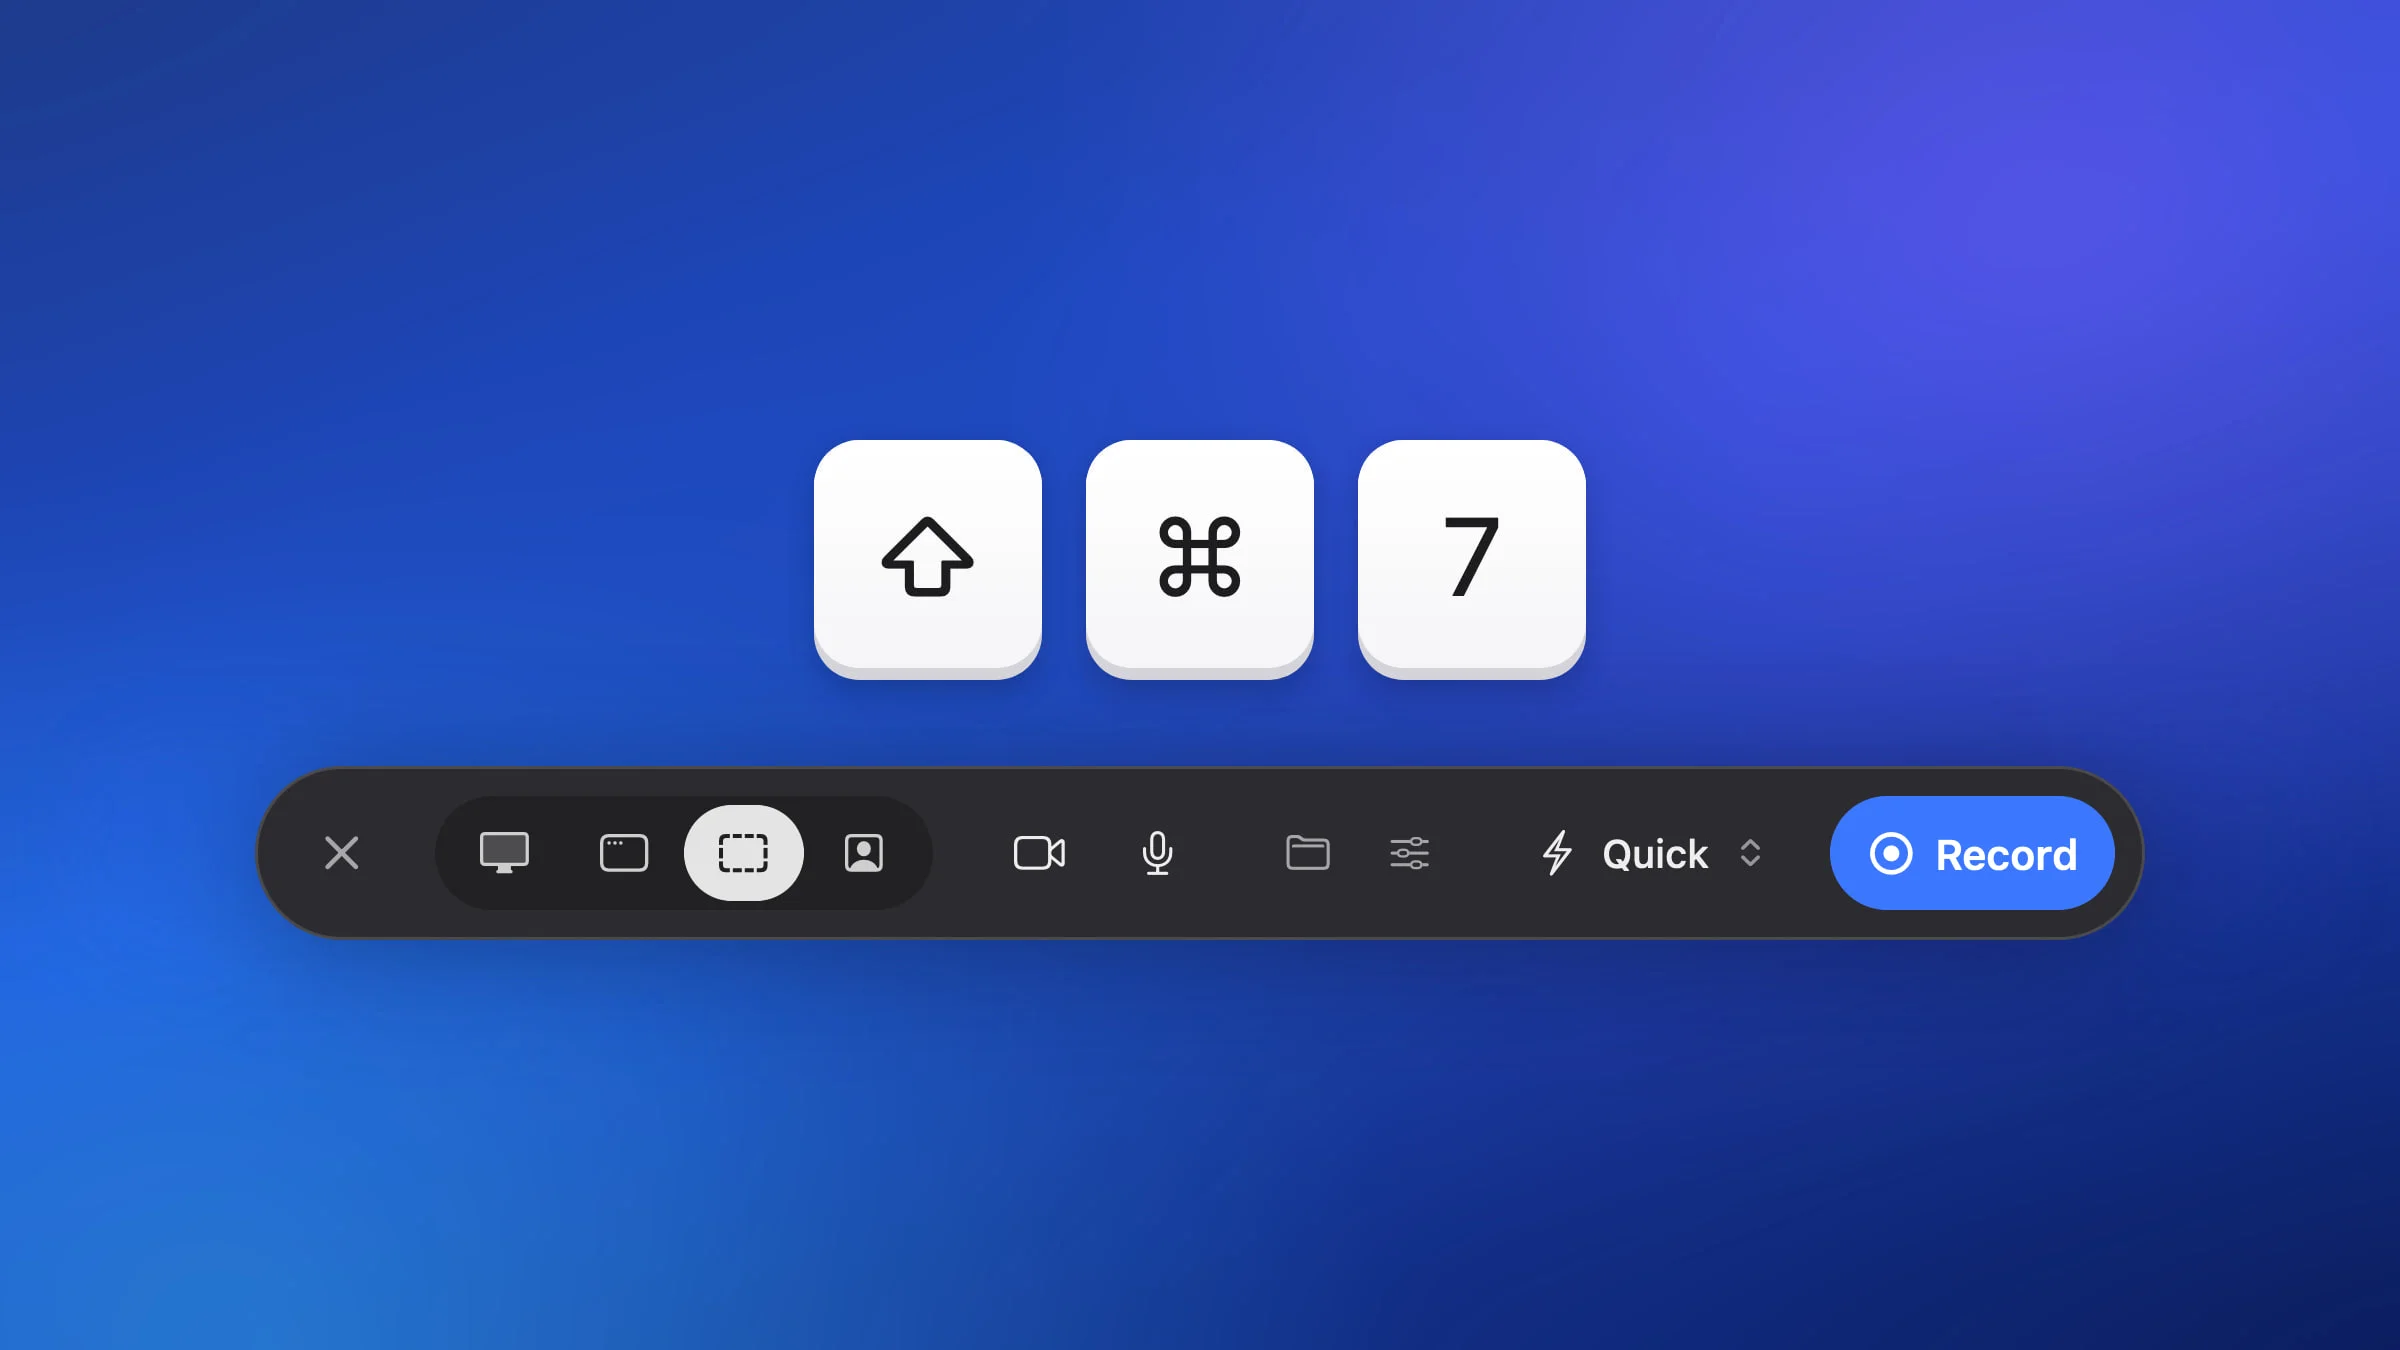
- Press ⇧⌘7. Or click the Snapix icon in the menu bar and choose a row under Videos: Record Full Screen, Record Window, Record Area or Record Camera Only (⌥⇧1 to ⌥⇧4), which also chooses what to record. The recording bar appears at the bottom of the display under the pointer. The first time, a short tour over the bar shows you around; Skip ends it.
- Choose what to record. The four buttons after the ✕ are Display, Window, Area and Camera only. Click Area and drag over the part you want: you can then move it, resize it from its edges or draw another. Or click Window and click a window. Camera only records just your camera, without the screen. For the whole display, skip this step: the display under the pointer is already lined up.
- Check the sound and camera. The camera and microphone buttons on the bar add your face and your voice. Your Mac’s sound is off until you turn on Include System Audio in the bar’s Recording options menu (the sliders button).
- Start recording. Click Record at the right end of the bar, or press ⇧⌘7 again. After a 3-second countdown on the button, Snapix records; click the button during the countdown to call it off. With your camera and microphone both off, Record asks first: Record anyway starts, Not now doesn’t. To record a different display, drag the bar onto it: the recording and your camera move there with it.
- Stop. Press ⇧⌘7, click Stop Recording on the bar, or click the red stop button Snapix puts in the menu bar.
While you record, the bar shows the red Stop Recording button, the time, Pause, Restart Recording and Discard Recording. Pause holds the recording, and the paused stretch isn’t in the video. Restart Recording and Discard Recording ask first, and the recording is paused while they do: Restart deletes what you’ve recorded and counts down again, Discard deletes it, and Continue Recording carries on. Before you start, the ✕ at the left end of the bar puts it away without recording.
Snapix keeps its bar, the outline around what you’re recording and its own previews out of the video. Hide Desktop Icons, on by default in the bar’s Recording options menu, leaves your desktop icons and widgets out of the video too, while they stay on your screen.
Note: A recording stops by itself, and is kept, if your Mac goes to sleep, the screen locks, the recorded display is unplugged or the disk is almost full.
Quick or Studio
The control just before Record on the recording bar decides what you get when you stop: click it and choose Quick or Studio. Here’s how they compare:
| Quick | Studio | |
|---|---|---|
| Ready when you stop | ✓ | — |
| Opens with zooms and a background | — | ✓ |
| Smoother pointer | — | ✓ |
| Move the camera later | — | ✓ |
| Best for | Quick shares | Demos, guides |
- Quick, the default, records the screen as you see it. The pointer, your camera bubble and the sound go into one MP4, ready to drag, copy or send the moment you stop.
- Studio records the screen without the pointer, your camera on its own and each sound on its own, along with where the pointer went and the keyboard shortcuts you press. It opens playing in the video editor, with a wallpaper behind it, rounded corners, a shadow and zooms suggested from your clicks. You share it with Export.
Studio keeps the shortcuts you press, never what you type, and the video editor puts them on the video once you turn on Show shortcuts in its Shortcuts tab. To keep them, Snapix needs macOS to allow Input Monitoring, and it asks the first time you set up a Studio recording. If you’d rather it didn’t, turn off Record keyboard shortcuts in Settings ▸ Recording. To make Studio the default, set Recording mode on the same page.
Record with sound and your camera
- Your Mac’s sound, from apps, videos and alerts, is off by default. To record it, turn on Include System Audio in the bar’s Recording options menu, or Record system audio in Settings ▸ Recording. It needs no permission beyond the one Snapix already has to see your screen.
- Your voice. Click the microphone button and pick a microphone. Before you start, the microphone icon fills with white as it hears you. macOS asks for access the first time.
- Your camera. Click the camera button and pick a camera. An iPhone you use as a webcam with Continuity Camera is listed too. macOS asks for access the first time. You appear in a bubble, at the bottom left to begin with, and you can drag it anywhere inside what you’re recording.
- The bubble’s controls. Rest the pointer on the bubble, or right-click it, and a card shows Size, a slider with five sizes, and Shape: Circle, Square, Widescreen or Vertical. Square and the middle size are the defaults (M in Settings ▸ Recording). Click your camera’s name on the card for your other cameras and Background & Effects…, and the button beside it turns the camera off. While you record, right-click the bubble and click the eye on its card to hide it. An eye button on the bar brings it back.
The microphone and camera stay off until you turn them on, and Snapix remembers your choices for the next recording. If you said no when macOS asked, allow Snapix in System Settings ▸ Privacy & Security ▸ Microphone or Camera.
Note: Your recordings are made on your Mac and stay there. Snapix uploads none of them, and it records sound and pictures only while a recording you started is running.
Where your recording goes and how to share it
A Quick recording lands on a preview card in the corner of the screen the moment you stop, and its viewer opens on the same screen, paused on the first frame.
- The card shows the first frame and the length, and stays until you close it. Copy puts the movie file on your clipboard, ready to paste into a message, an email or a Finder window, and dragging the card drops the file into any app. Click the card to play it.
- The viewer plays it with Space, and F fills the screen. Playback Speed, the gauge beside the time, plays it anywhere from 0.5× to 2×, and < or > steps the speed. ⌘C copies the file, and the buttons at the bottom show it in Finder, send it with AirDrop or share it. Trim opens it in the video editor.
- The file is already saved. Snapix puts a copy of every Quick recording in Movies ▸ Snapix, named like “Recording 2026-11-19 at 14.05.33.mp4”.
- Later, press ⇧⌘S to open Recent Captures. Your recordings sit among your screenshots, and a Videos pill shows them on their own. Double-click one to play it, press ⌘E to edit it, or copy or drag it to hand out the movie file. There’s more in how to see your screenshot history.
Closed the card too soon? ⌃⌥Z brings it back while Snapix is running. See how to get back a capture you closed.
A Studio recording opens in the video editor instead, and nothing goes into Movies ▸ Snapix until you save or export it.
Edit and export a recording
To edit a Quick recording, click Trim in its viewer, or select it in Recent Captures and press ⌘E.
- Trim and cut. Drag either end of the clip, or press [ or ] to cut everything before or after the playhead. To take out a middle part, press C or S on each side of it, then delete the piece.
- Speed and crop. Clip Speed under the preview plays a clip anywhere from 0.25× to 8×, and Crop trims the picture down.
- Zooms. Press Z to add one. In a Studio recording, Snapix suggests zooms from your clicks, and a zoom set to Auto follows the pointer.
- The look. Background puts a wallpaper, gradient, color or image behind the video, with padding, rounded corners and a shadow. In a Studio recording, Cursor smooths and resizes the pointer, and if you recorded your camera, layouts switch it between picture in picture, side by side, stacked, camera only and screen only.
When it’s ready, click Export at the top right, or press ⌘E, to make a copy to share:
- Format: MP4 · H.264, MP4 · HEVC or GIF.
- Frame rate and Resolution for an MP4, Frame rate and Width for a GIF. Snapix never makes it bigger than the recording.
- Quality for an MP4: a slider from Low to Max. The estimated file size shows under it.
- A GIF can be up to 2 minutes long, and it has no sound.
The export is saved to Movies ▸ Snapix, and Finder opens with it selected. The finished card can Copy the file too. ⌘S saves your edit into the recording itself, so the viewer and Recent Captures hand out the edited version from then on.
Recording settings
Open Settings ▸ Recording from the Snapix menu, or choose Recording Settings… in the bar’s Recording options menu.
- Video: Resolution (Full Size, 1080p or 720p), Frame rate (30 or 60 fps, 60 by default), Video format (H.264, the default, plays everywhere; HEVC makes smaller files) and Quality (Standard, High or Maximum, High by default).
- Sound and camera: Record system audio (Include System Audio in the bar’s Recording options), Record the microphone and Show the camera (the bar’s microphone and camera buttons), the camera’s shape and size (XS to XL), and Record keyboard shortcuts for Studio.
- Editing: Recording mode (Quick or Studio) and Countdown (Off, 3 s or 5 s).
- Storage: Save videos to (Movies ▸ Snapix, unless you click Choose…), the File name pattern, and Keep recordings (7, 30 or 90 days, 30 by default).
Keep recordings applies to Snapix’s own copy, the one Recent Captures shows. Videos you saved or exported stay where you put them, and a recording you file into a list in Recent Captures is kept however old it gets. Snapix’s own copies are also capped at 20 GB in all: past that, the oldest ones not filed into a list go first, whatever Keep recordings says.
How to record your screen with the tools built into macOS
macOS has a screen recorder in its Screenshot toolbar. It records the whole screen, a window or part of the screen as a .mov file.
- Open the Screenshot toolbar. Press ⇧⌘5. Snapix uses that shortcut for Capture Window by default, so while it’s running, open the Screenshot app from Spotlight or Applications ▸ Utilities. In QuickTime Player, File ▸ New Screen Recording (⌃⌘N) opens the same toolbar.
- Choose what to record. The recording buttons come after the screenshot ones: Record Entire Screen, Record Selected Window (macOS Tahoe 26 and later) and Record Selected Portion. For a portion, drag the frame or its edges.
- Set the options. Click Options to choose a microphone, a Timer, where to Save to (your desktop by default) and Show Mouse Clicks, which draws a circle around the pointer when you click. On macOS 27 Golden Gate and later, Include System Audio records the sound your Mac plays.
- Click Record. For a window, click the window instead. Press Esc before you start if you change your mind.
- Stop. Click the stop button in the menu bar, or press ⌃⌘Esc. By default a thumbnail appears in the corner: click it to trim or share the recording, or let it save. The file is named Screen Recording with the date and time.
Note: Before macOS 27 Golden Gate, the toolbar records a microphone but not the sound your Mac plays. Snapix records your Mac’s sound on macOS 14 Sonoma and later, once you turn on Include System Audio in its Recording options menu. To give ⇧⌘5 back to macOS, see how to change the screenshot shortcut.
Screen recording tools at a glance
| Tool | What it records | Sound | Where it goes |
|---|---|---|---|
| macOS ⇧⌘5 toolbar | The whole screen, a portion, or a window on macOS 26 and later | A microphone, and your Mac’s sound on macOS 27 and later | A .mov file on your desktop |
| QuickTime Player ▸ File ▸ New Screen Recording | The same toolbar | The same | The same |
| Snapix ⇧⌘7 | A display, a window or an area, with your camera if you want it, or your camera alone | Your Mac’s sound and a microphone, each when you turn it on | An MP4 in Movies ▸ Snapix (Quick) |