Screenshot mockup generator
Put any screenshot in a browser frame or macOS window, on the same backgrounds as the Snapix app, and export it at each platform’s exact size.
Drop a screenshot to frame it Frame a screenshot
Drag it here or press ⌘V to paste. It’s framed the instant it lands. Pick one from your photos. It’s framed the instant it lands.
Have feedback on Screenshot Mockup?
How to put a screenshot in a browser frame
Three steps, and it all happens in your browser.
Add a screenshot
Drop it into the box above, press ⌘V to paste, or click to browse — it’s framed the instant it lands. Tap the box above and pick a screenshot from your photos — it’s framed the instant it lands.
Style the mockup
Pick a browser or Mac window frame, type your own title or URL, then choose a gradient, picture or colour and set the padding, shadow and corners.
Copy or download
Copy the finished mockup to your clipboard, or download it — already sized for LinkedIn, X, Instagram or your link preview.
Browser frame, Mac window, or none
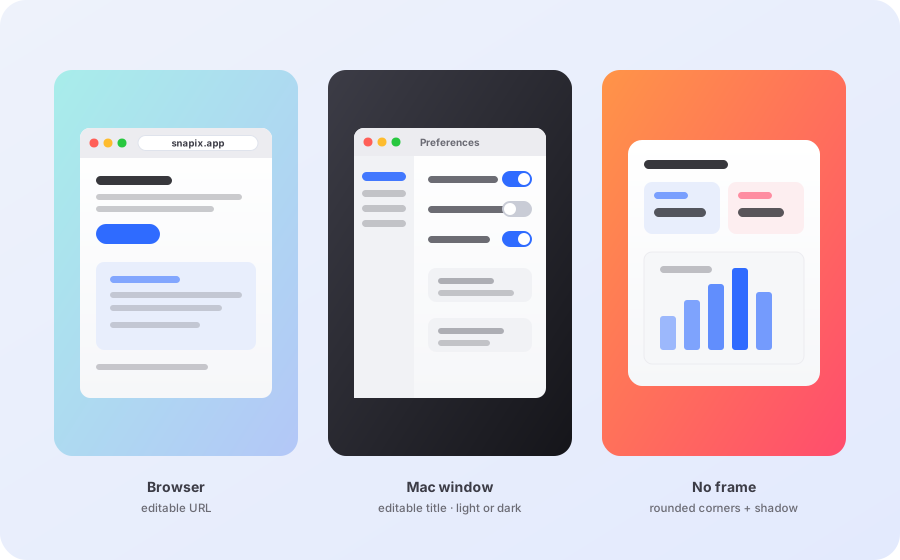
A frame tells people what they’re looking at before they read a word: a live website, a Mac app, or just a clean image. All three are drawn as vector paths, so they stay sharp at any export size.
- Browser frameFor websites and web apps — a clean Safari-style window with an address pill you can type any URL into.
- Mac windowFor native Mac apps — traffic lights and an editable window title, in a light or dark theme to match your screenshot.
- No frameJust the background, padding, shadow and rounded corners — right for mobile screenshots and Mac captures that already have corners of their own.
Add a background and a caption
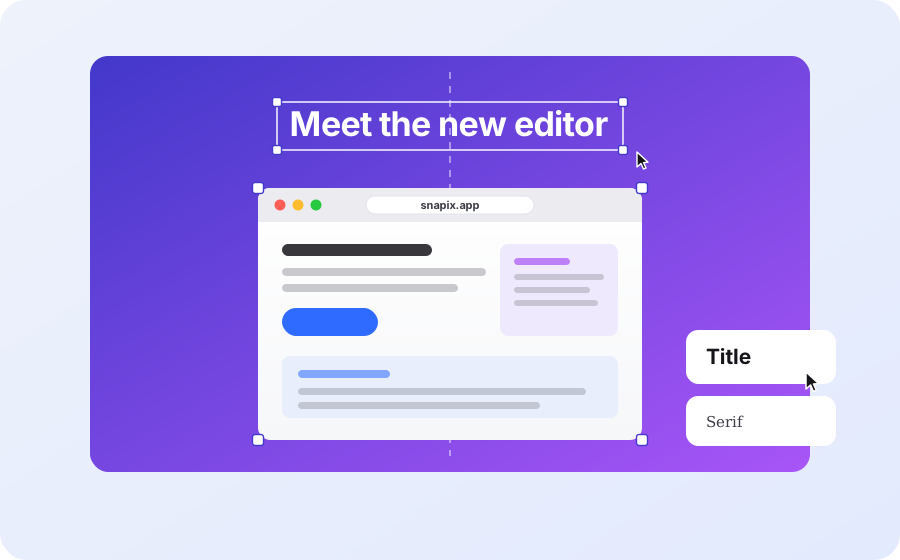
The background does most of the work of making a screenshot look finished, and a social post usually needs a line of text with it. Do both here and download one image — no second tool.
- 22 gradients from the Snapix app — or one sampled from your screenshot’s own colours
- Pictures with an adjustable blur, 17 colours, or a transparent background
- Save a look as a preset and reuse it on the next screenshot
- Add text in six ready-made styles and 36 typefaces, drawn as sharp vectors
- Drag anything into place — it snaps to guides, and ⌘Z undoes every step
Blur emails and names before you frame anything — our annotate screenshot tool redacts right in the browser.
The right size for every platform
Auto fits the canvas to the mockup, which is what documentation and changelogs want. Pick a ratio such as 16:9, 1:1 or 9:16 instead and the canvas grows around your screenshot — it is never cropped and never stretched — then drag it wherever you want it on the canvas.
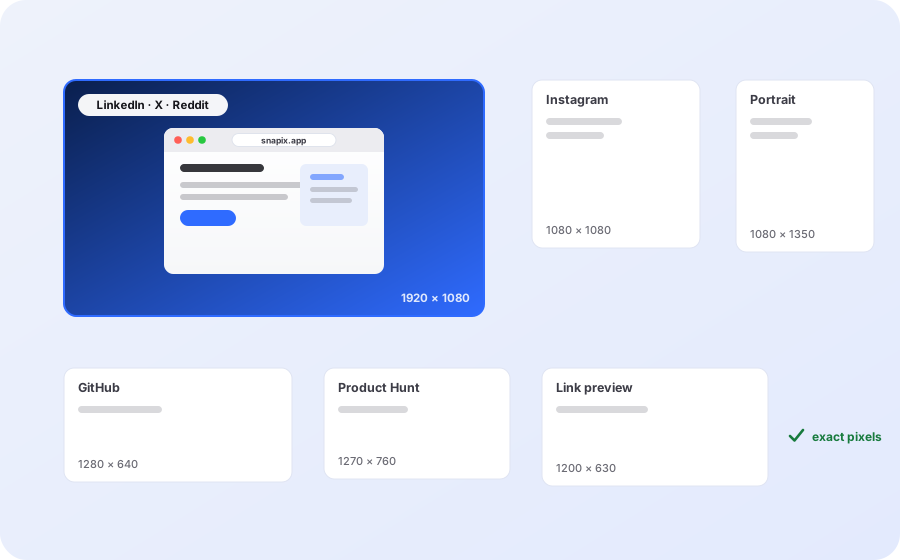
The Size menu holds a preset for each place a product screenshot ends up: LinkedIn, X, Reddit and Instagram posts, Product Hunt galleries, YouTube thumbnails and GitHub social previews. Each one exports at that platform’s exact pixels, so the file you download is the file you upload.
It works as an Open Graph image generator too: the link preview preset exports the 1200 × 630 card that Facebook, LinkedIn, Slack and Discord build from your page’s og:image tag.
- Small JPGs, or PNG when the background is transparent
- Custom sizes from 100 to 8,000 px
- Transparent PNGs drop straight onto slides and decks
Frequently Asked Questions
Is this mockup generator free, and does it add a watermark?
It is completely free — no watermark, no sign-up and no export limit. Everything is drawn on a canvas element right in the page, so there is no upload step and no waiting on a server. These web tools are how we introduce Snapix, our screenshot app for macOS.
Can I change the URL and window title text?
Yes. The Safari-style browser frame has an editable address pill and the Mac window an editable title. The text is redrawn on the canvas as you type, so whatever you write exports as part of the image.
Which backgrounds can I use?
The same library as the Snapix editor: 22 gradients, from plain two-tone fades to soft mesh washes, 17 colours, a gradient sampled from your own screenshot, a blurred copy of the screenshot itself, or a picture of your own with an adjustable blur. Pick no background to export a transparent PNG.
Can I add text or a caption to the mockup?
Yes. Drag one of the six styles out of the Text tab onto the canvas — or press T — and type straight onto the preview. There are 36 typefaces to pick from, captions export as sharp vectors at any size, and ⌘Z undoes any step.
Which social media sizes can I export?
The Size menu holds nine ratios and nine platform sizes: LinkedIn, X and Reddit posts at 1920 × 1080, Instagram square and portrait, Product Hunt gallery, YouTube thumbnail, GitHub social preview and the 1200 × 630 link preview. Each platform size exports at its exact pixels, and Custom takes any size from 100 to 8,000 px.
What size should an Open Graph image be?
1200 × 630 pixels, which is the link preview size here. That is the size Facebook’s sharing documentation asks for, and Slack, Discord, Bluesky, LinkedIn and Reddit read the same og:image tag — so one export covers all of them.
Does it export a JPG or a PNG?
It picks for you. A mockup with a background downloads as a JPG at 92% quality — very hard to tell from a PNG by eye and a fraction of the size. With no background it downloads as a PNG, since only PNG keeps the transparency. Copy always puts a PNG on your clipboard.
Clean window captures in one keystroke
Snapix’s window capture (⌘⇧5) grabs any Mac window cleanly, with a live highlight of exactly what you’ll get — and the editor puts it on these same backgrounds, with presets you can apply to every capture.
How would you rate Screenshot Mockup?
A short review helps other people find these free tools. It takes a minute.
Review us on TrustpilotYou can also review us on Trustpilot.