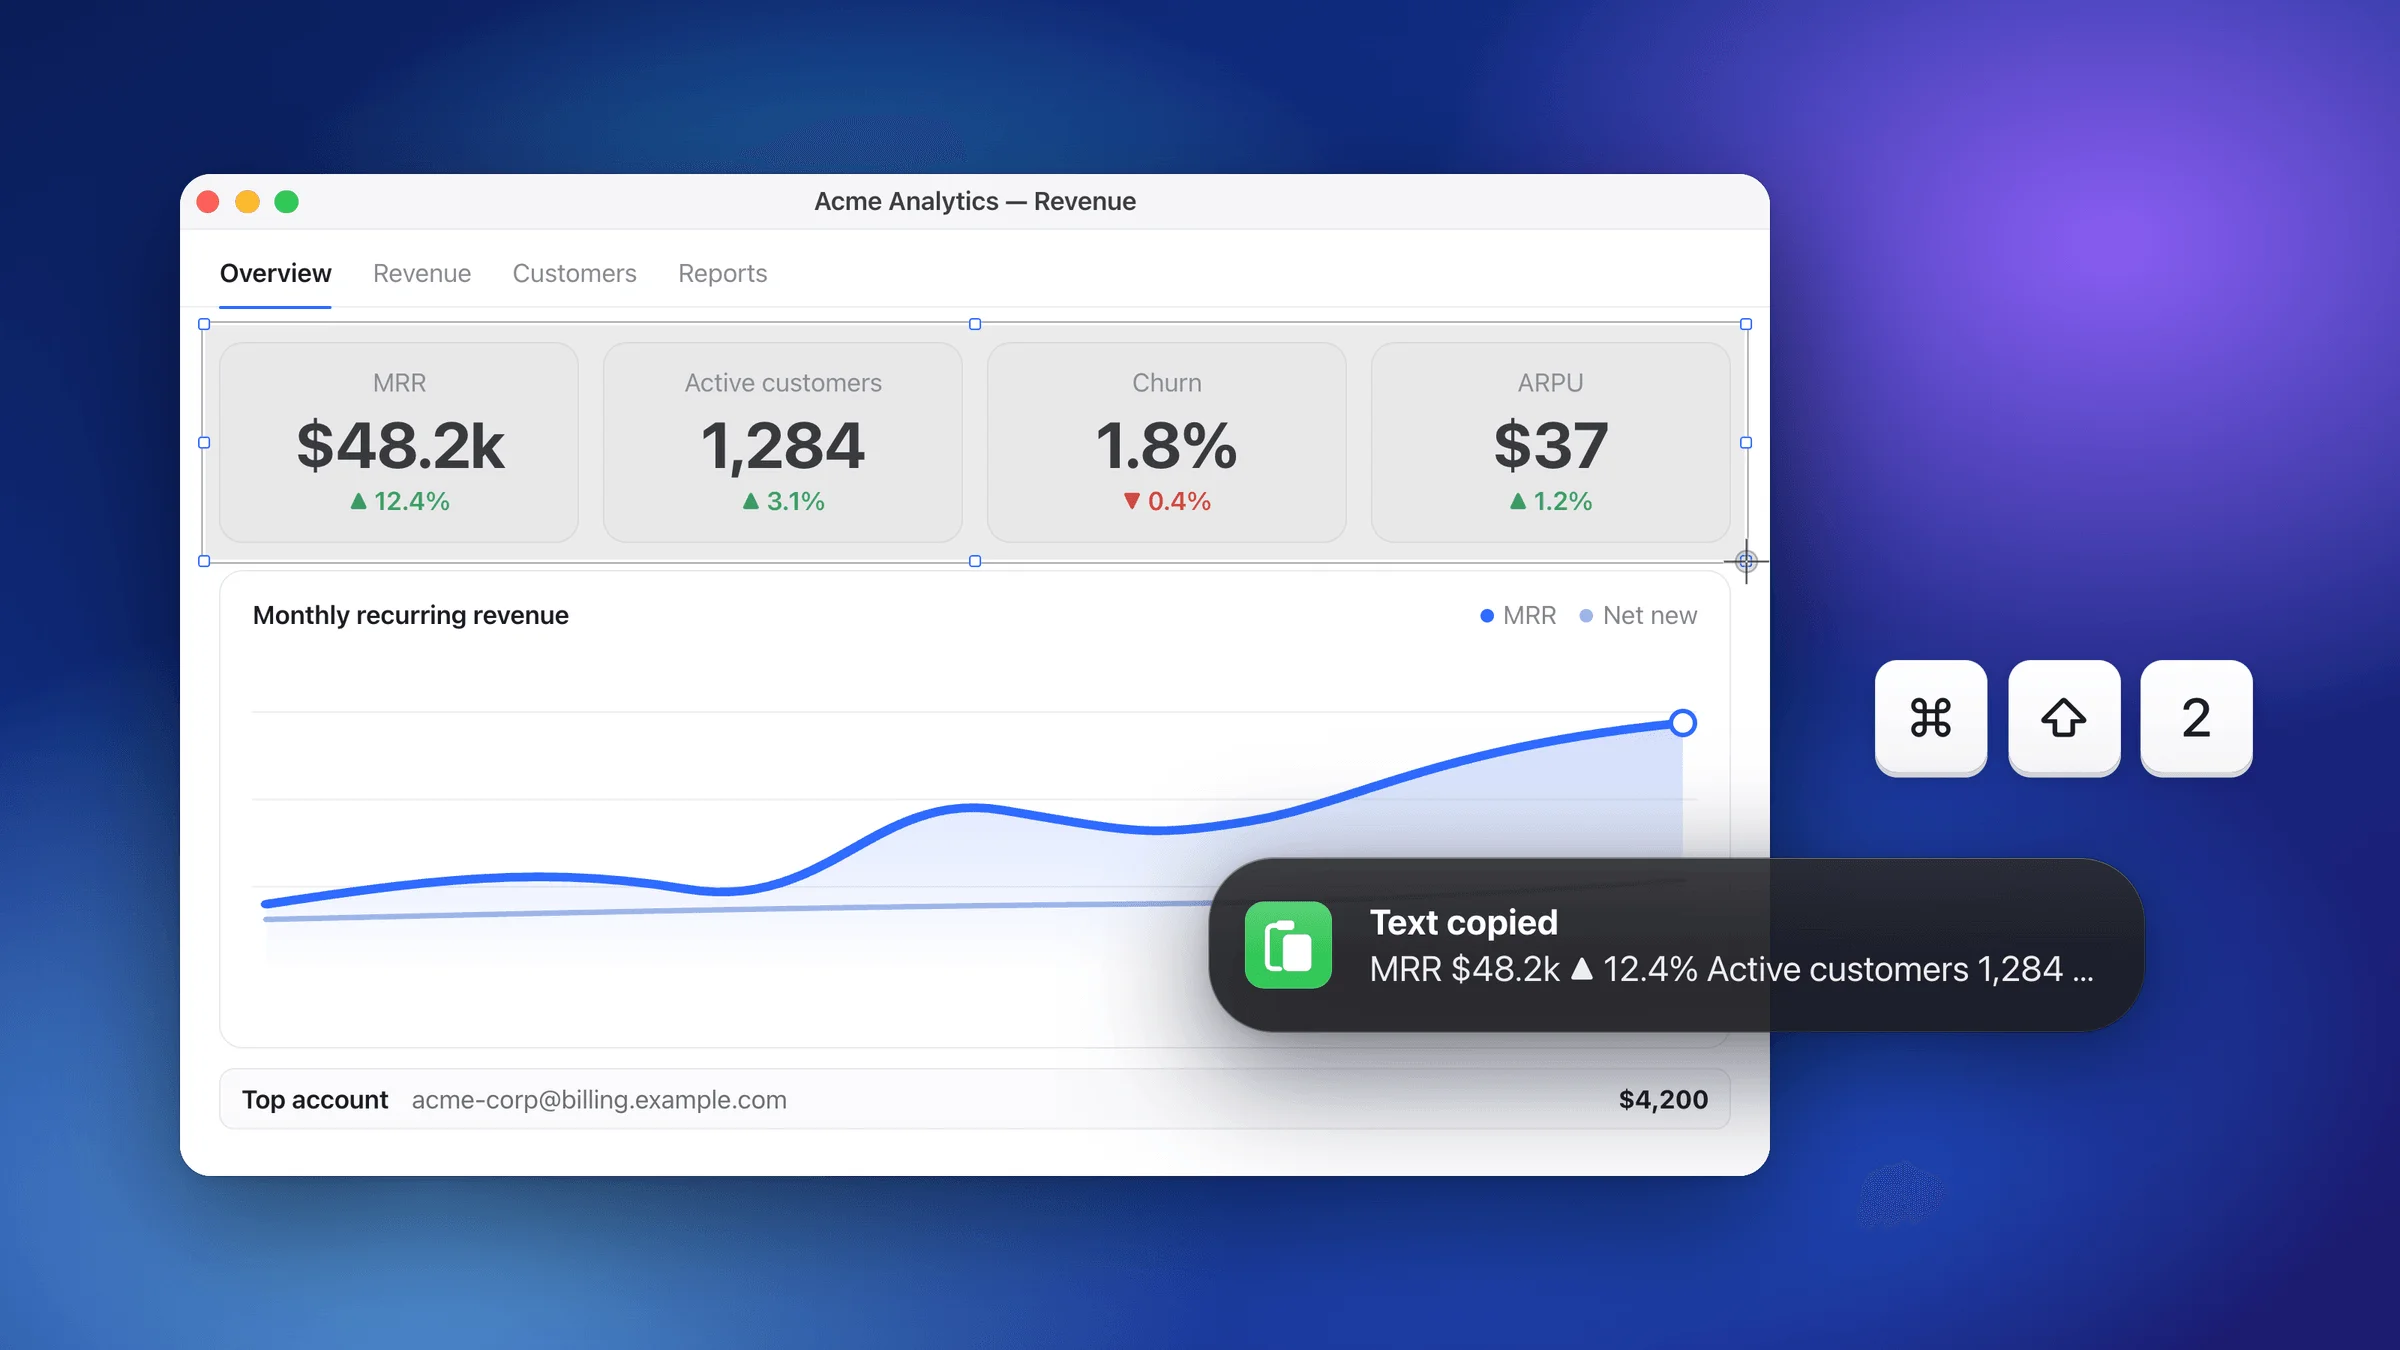
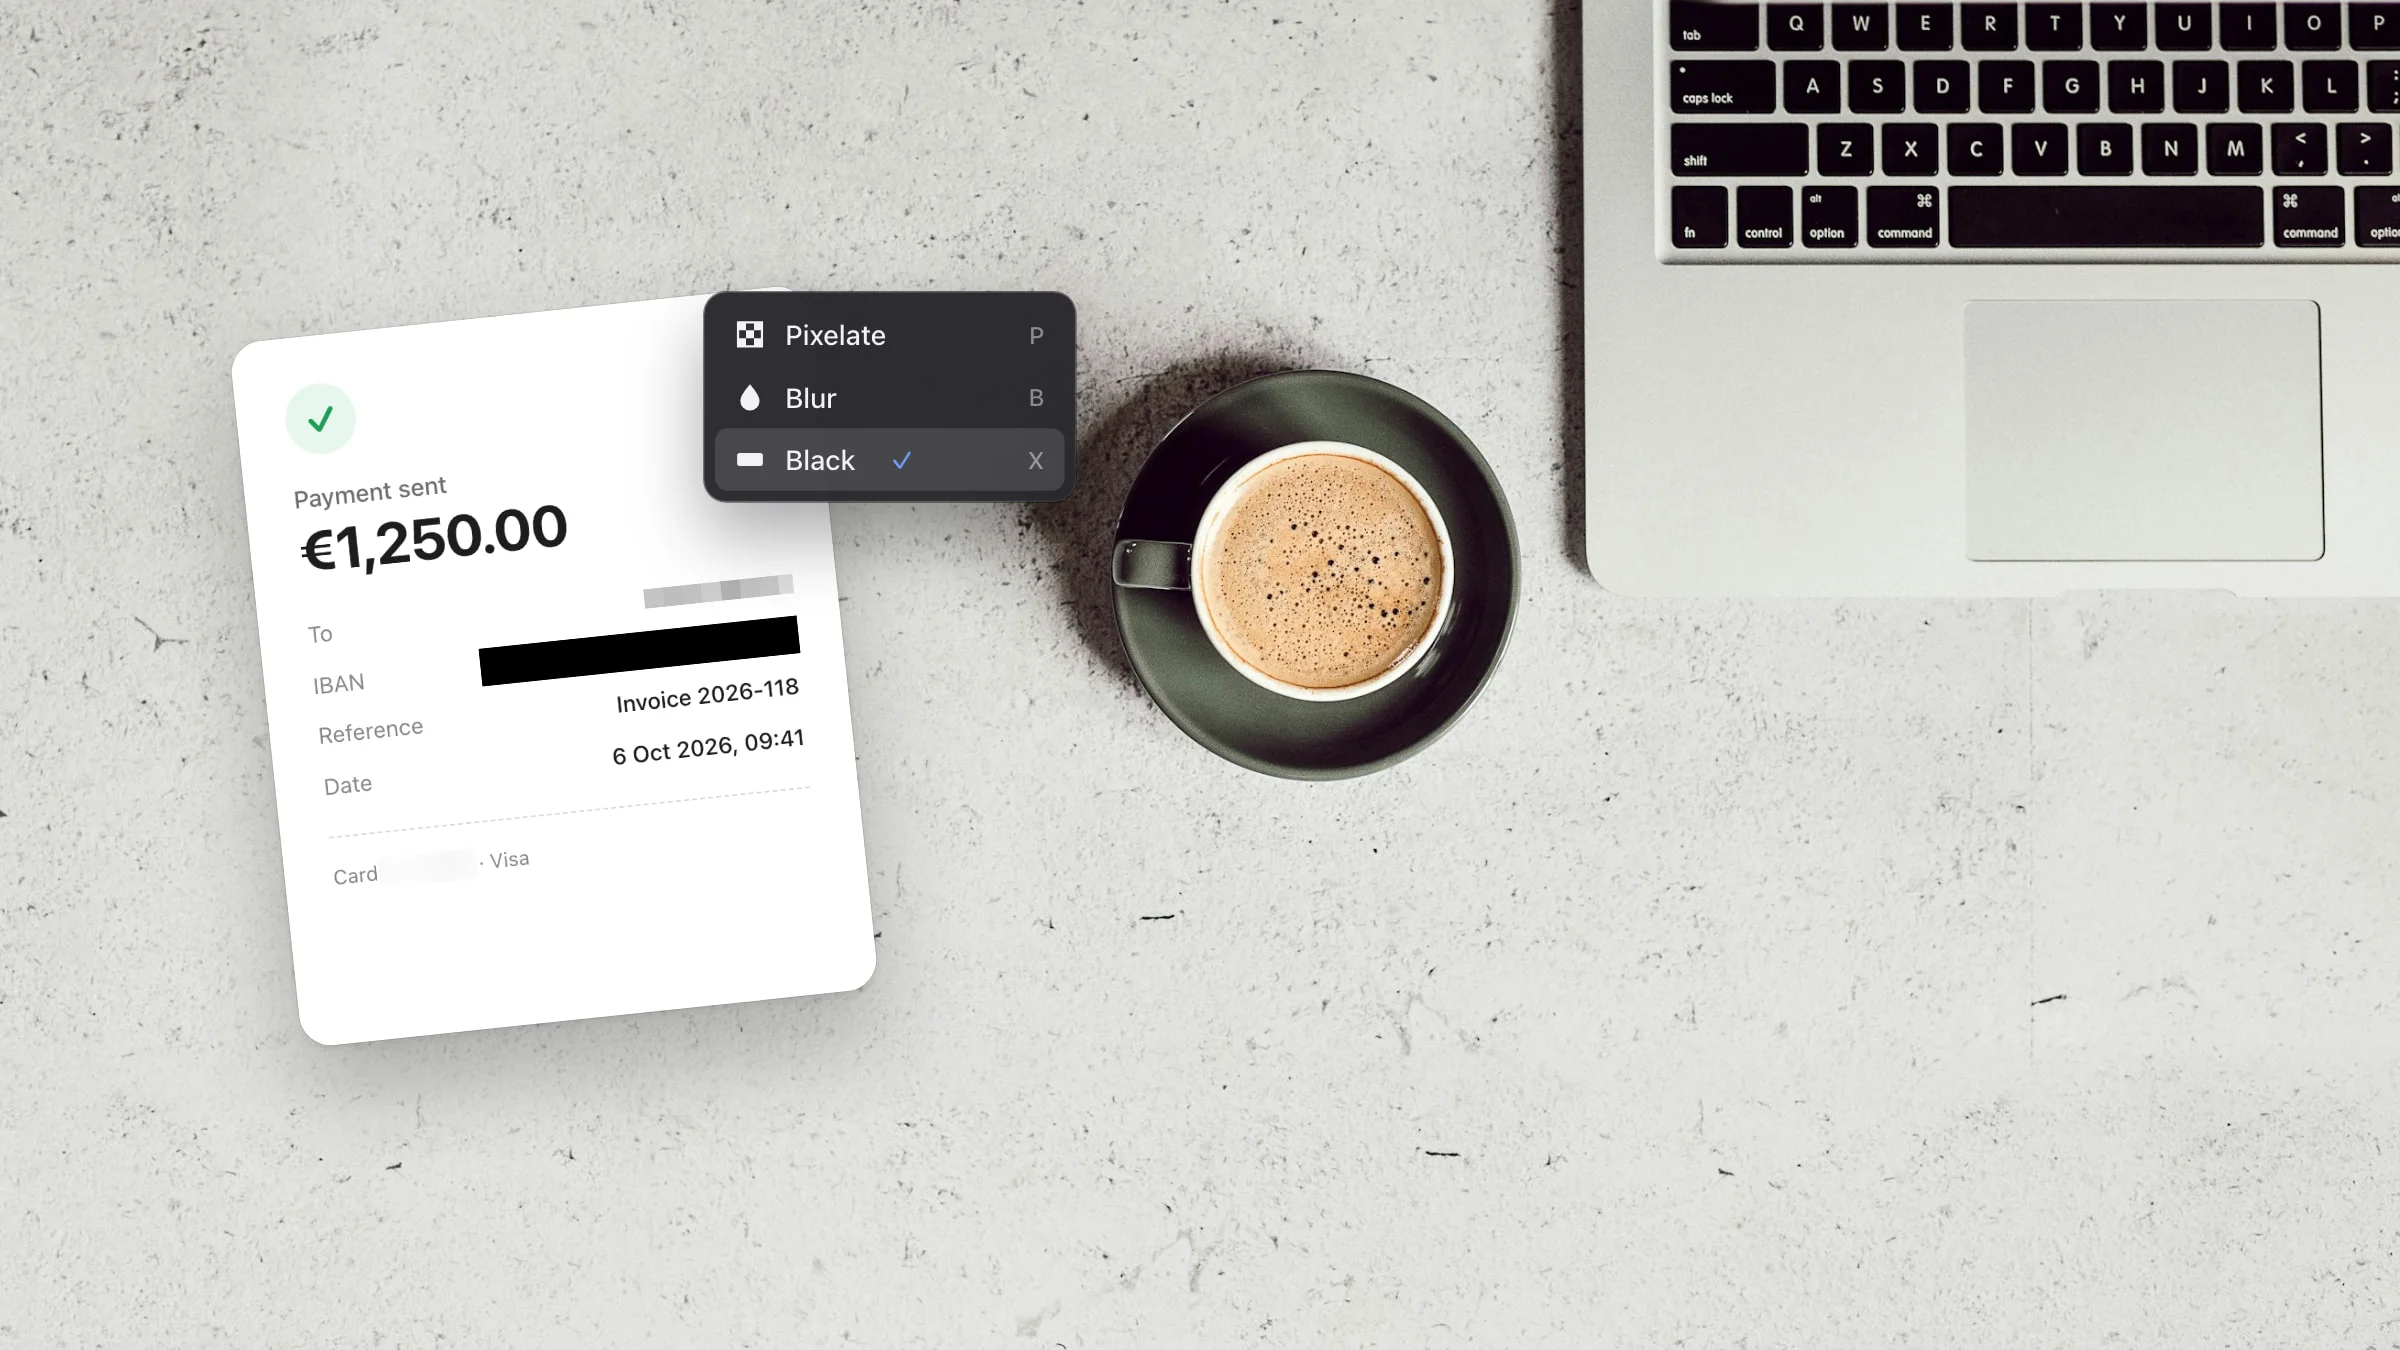
You’re about to send a screenshot, and there’s something in it nobody else should see: an email address, a sign-in code, a customer’s name. The screenshot tool on your Mac can’t blur it. Here’s how to blur part of a screenshot on Mac in a few seconds, and which kind of blur actually keeps a secret.
Quick, easy blur with Snapix
Snapix is a screenshot app for Mac with three ways to hide things right in its editor: Pixelate, Blur and Black. Capture, press one key, drag over the private part, and the image you share already has it hidden. It all happens on your Mac, and nothing is uploaded.
How to blur part of a screenshot on Mac
- Capture the screen. Press ⇧⌘4 and drag over the area you need. A preview slides into the corner of the screen. Hover it and click Edit. Already have the image? Control-click it in Finder and choose Open With ▸ Snapix.
- Choose how to hide it. Press P for Pixelate, B for Blur or X for Black. All three share one slot in the toolbar, and its menu can switch a box you’ve already drawn.
- Drag over what’s private. One drag covers one field, and one tall drag covers a whole column. You can move and resize a box afterwards, and the Intensity slider makes Blur and Pixelate stronger.
- Click Done. The finished image is on your clipboard, ready to paste into a chat or an email (⌘C does the same). Prefer a file? Click Save as… instead.
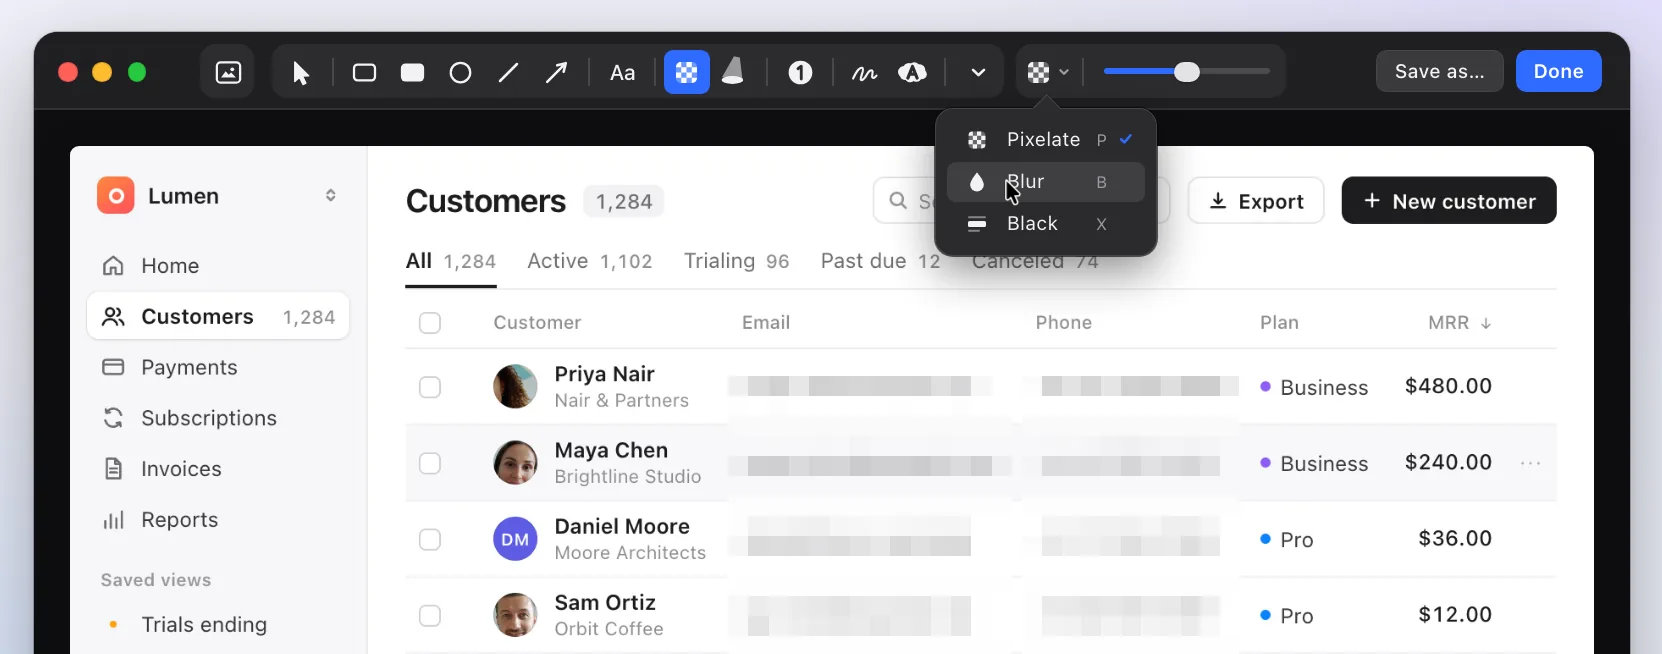
Tip: Your email address is rarely on screen just once. It’s in the header, the address bar and the notification in the corner. Press ⌘F in the editor and type it. Snapix finds every place it appears in the picture, so you can cover them all.
Pixelate, Blur or Black: which one should you use?
All three stop people from reading a detail at a glance. Only one stops a computer.

- Pixelate turns the area into big squares. Use it for names in a list, faces in the background, or anything that just needs to look tidy.
- Blur softens it, like frosted glass. Use it for clutter, other people’s messages and busy backgrounds.
- Black covers it with a solid box. Use it for passwords, sign-in codes, card and account numbers, API keys and home addresses.
The rule we use ourselves is simple. If it would hurt if someone guessed it, use Black.
How to blur a screenshot on Mac without an app
The Markup tools built into macOS can’t blur or pixelate. They can draw a black box, though, and that’s the safest choice anyway.
- Press ⇧⌘4, drag over the area, then click the thumbnail before it slides away. For an image already on your Mac, open it in Preview and click the Markup button.
- Click Shapes and choose the rectangle.
- Drag it over the private part and resize it with the handles.
- Set Fill Color and Border Color to black.
- Click Done. Once the image is saved, the box is part of it.
Need a real blur? Our free Annotate Screenshot tool blurs, pixelates or covers part of a screenshot with a solid box, right in your browser.
Note: A PDF works differently. A box drawn on a PDF can be moved, and the text under it can still be copied, so use Preview’s Redaction Selection tool, which removes the text itself.